

Tags
Organize your presentations using tags for easy categorization and discovery.
What Tags Are For
Section titled “What Tags Are For”Tags help you:
- Group related presentations (e.g., “Q1 2025”, “Marketing”, “Training”)
- Find presentations quickly by category
- Create logical collections across different projects
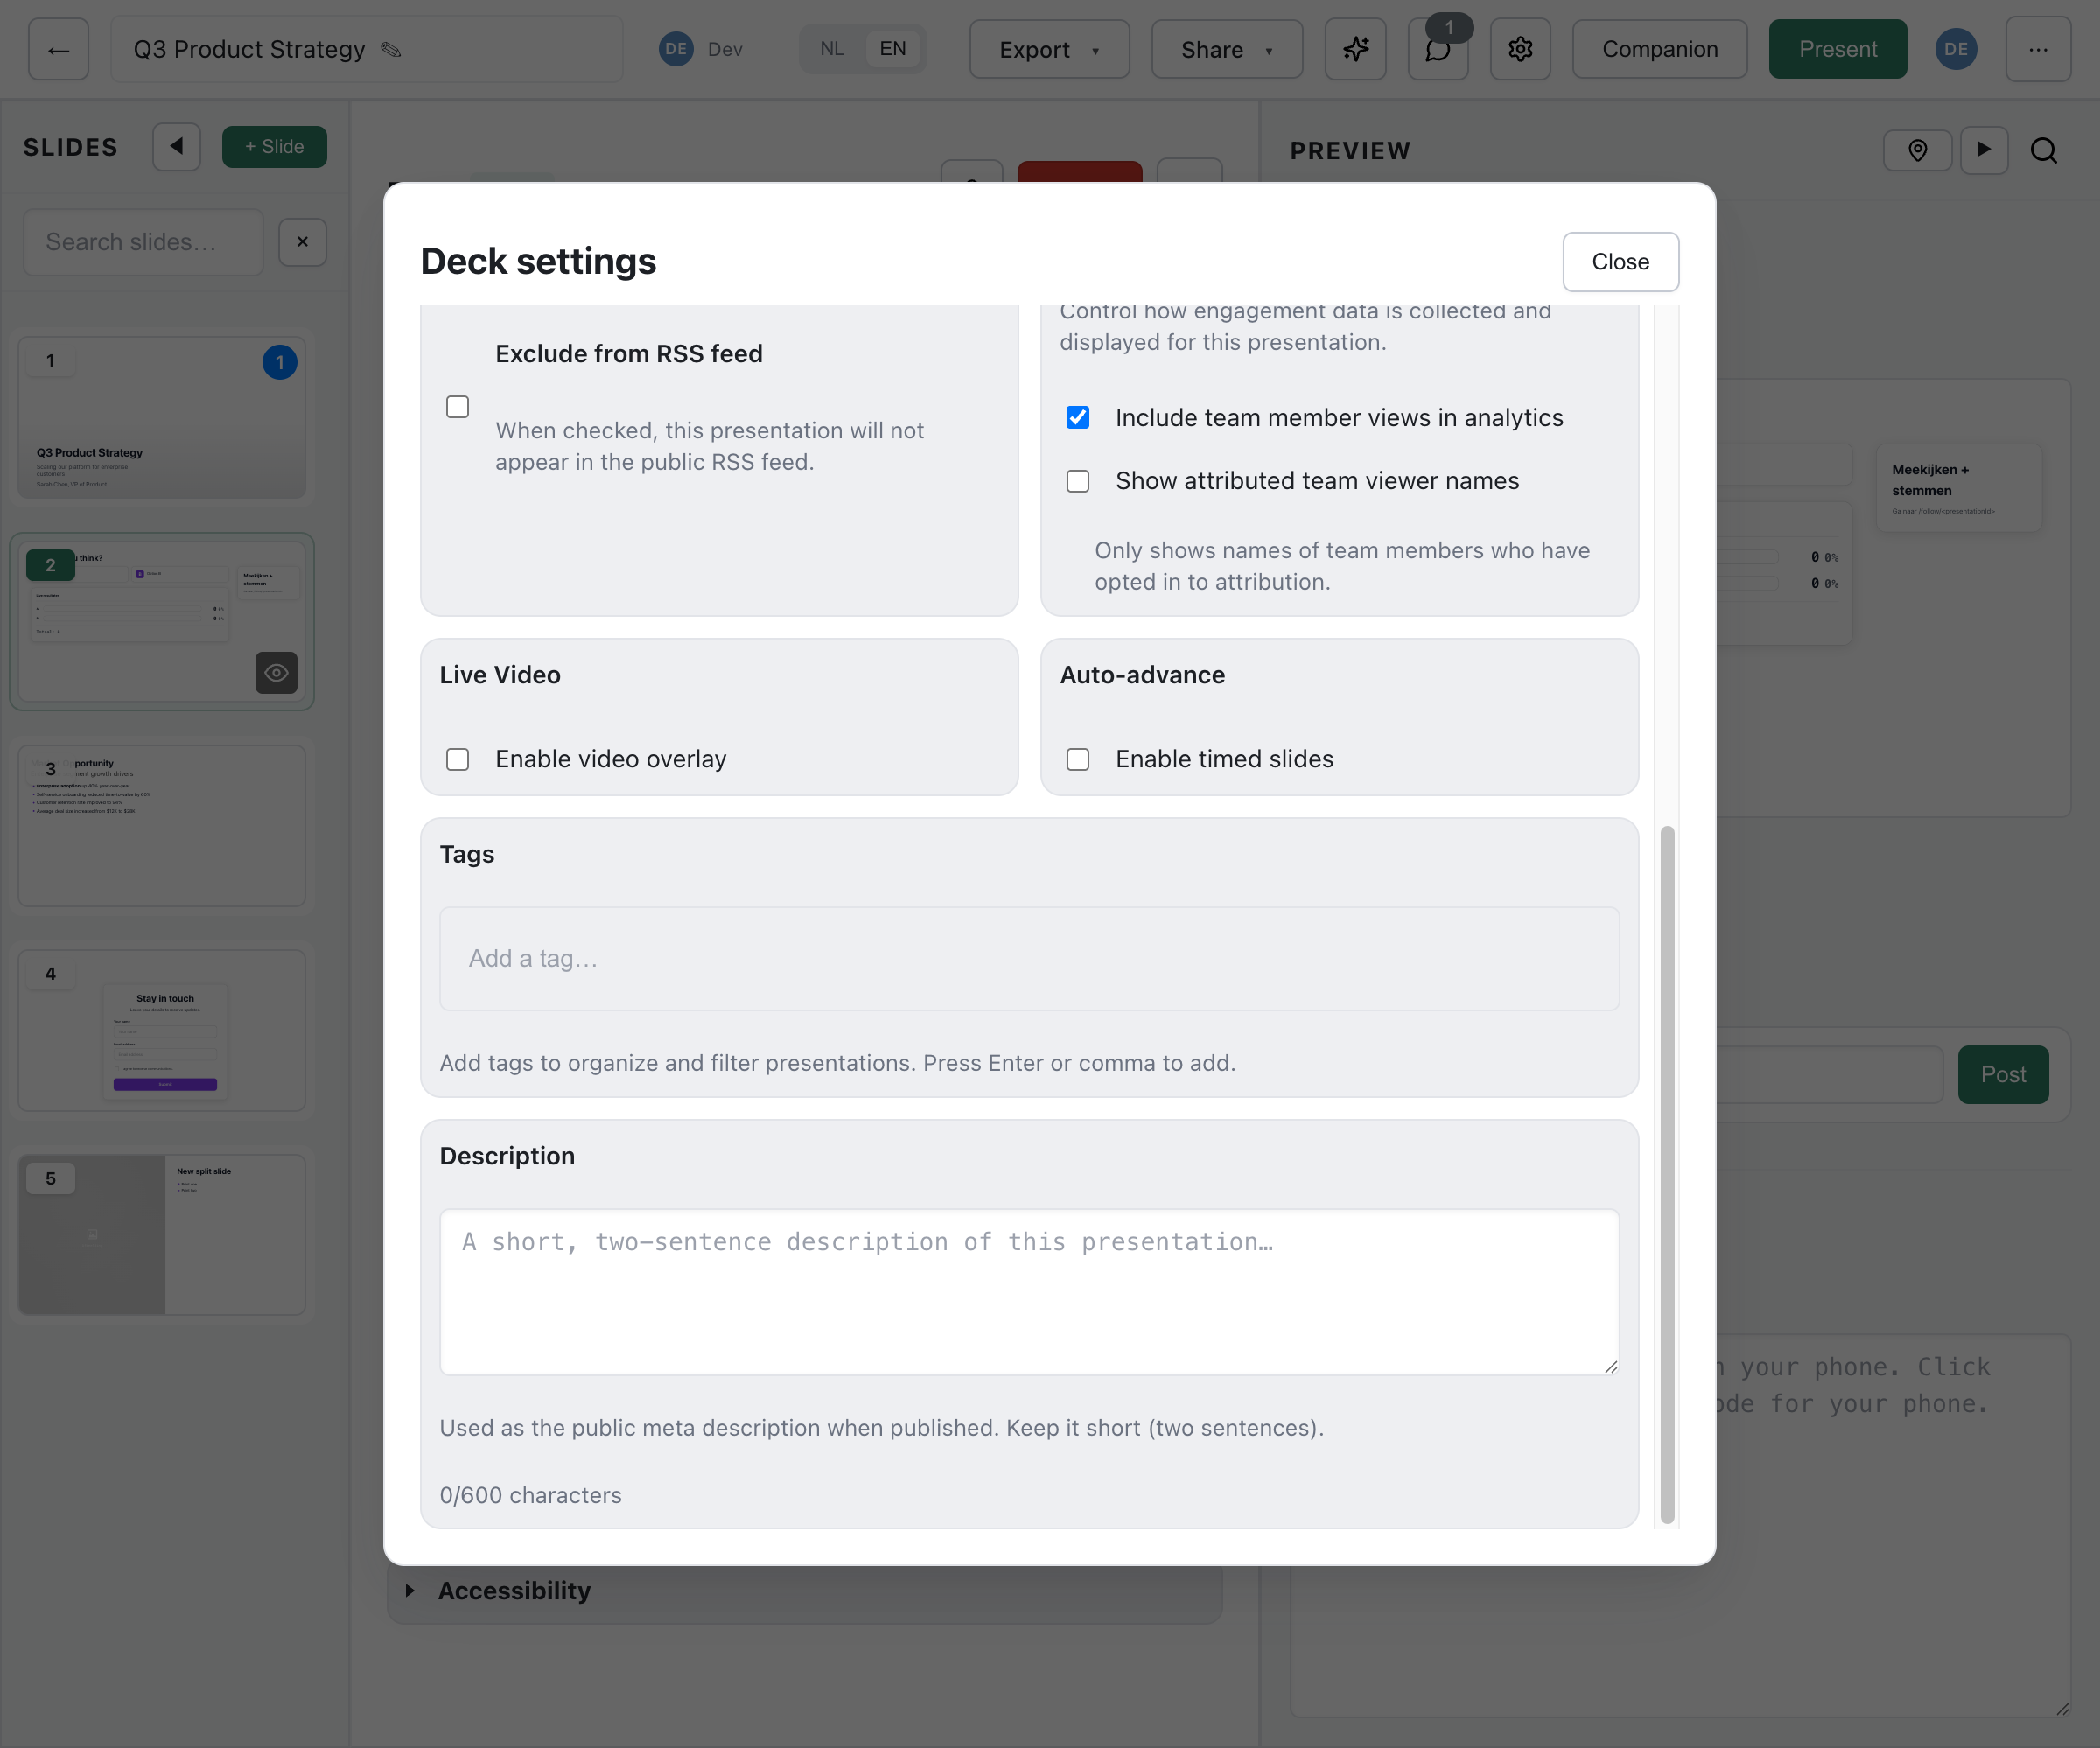
Adding Tags
Section titled “Adding Tags”- Open the presentation in the editor
- Open the ⋯ menu in the top bar and choose Settings
- In Deck settings, type a tag name in the Tags field
- Press Enter, comma or Tab to add it
While you type, existing tags that match appear as suggestions. Use the arrow keys and Enter to pick one. A name that doesn’t exist yet becomes a new tag.
Changes to tags are saved immediately.
Tagging Presentations
Section titled “Tagging Presentations”- Add multiple tags to a single presentation
- Remove a tag by clicking the × on it, or press Backspace in an empty tag field to remove the last one
- Tags are shared across your workspace, so everyone picks from the same set
Filtering by Tag
Section titled “Filtering by Tag”In the Presentations view:
- Click Filter by tag
- Tick one or more tags. Each tag shows how many presentations use it; the search field at the top narrows the list
- The list shows presentations that have any of the selected tags
- Untick a tag, or click Clear, to remove the filter
The source chips (All, Mine, Workspace, Shared) update their counts to match the tag filter.
How Tag Names Work
Section titled “How Tag Names Work”- Tags are case-insensitive: adding “marketing” when “Marketing” exists reuses the existing tag, with its original spelling
- A tag name can be up to 100 characters
- Removing a tag from every presentation does not delete the tag; it stays available as a suggestion
- Tags cannot be renamed in the app. To change a name, add the new tag and remove the old one from each presentation
Tag Suggestions
Section titled “Tag Suggestions”Common tag patterns:
- By project: “Project Alpha”, “Website Redesign”
- By date: “Q1 2025”, “2025”
- By type: “Training”, “Sales”, “Internal”
- By status: “Draft”, “Final”, “Archive”