

User Management
Manage users in your Deckyard instance.
Overview
Section titled “Overview”Administrators can add new users, manage roles, and control access to the platform. Users live in the database, and managing them requires admin privileges.
Adding Users
Section titled “Adding Users”Via Admin Panel
Section titled “Via Admin Panel”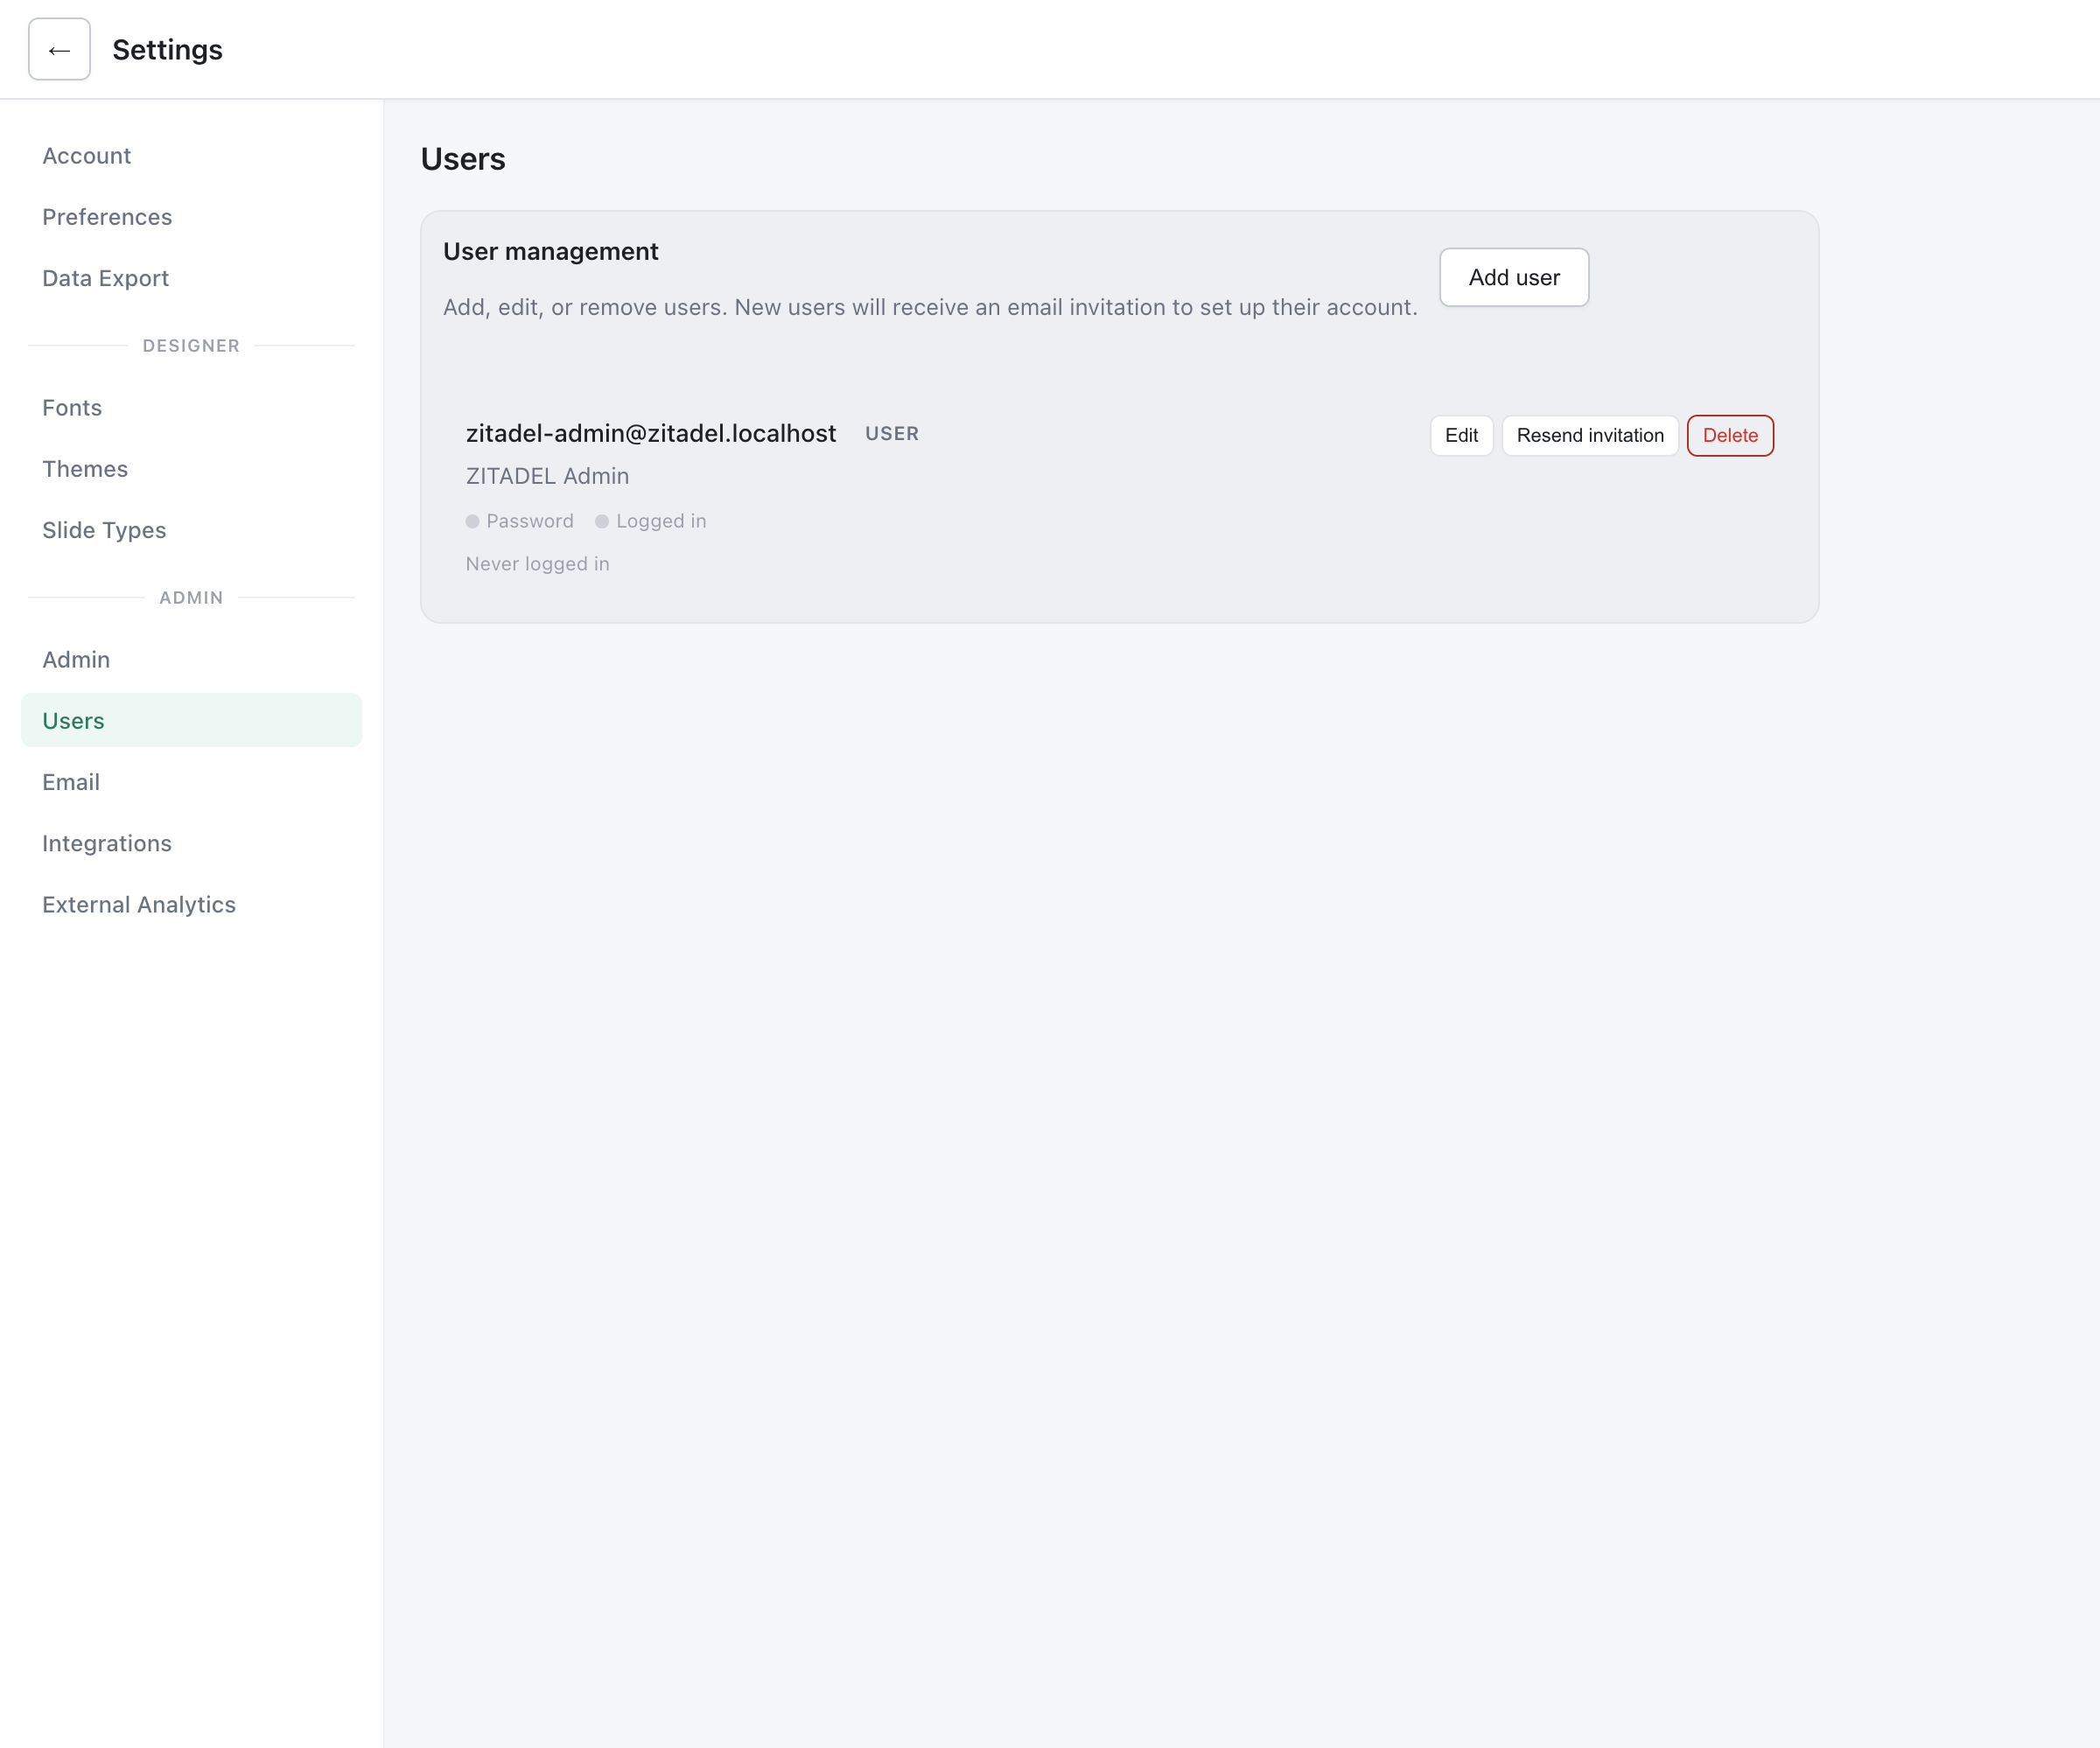
- Navigate to Admin > Users
- Click Add User
- Enter the user’s email address
- Optionally enter their display name
- Select a role (User or Admin)
- Click Create
The user receives an invitation email with a link to set up their account.
Via API
Section titled “Via API”POST /api/admin/usersContent-Type: application/jsonAuthorization: Bearer <admin-token>
{ "email": "newuser@example.com", "name": "New User", "role": "user", "sendInvitation": true}Rate limit: 20 user creations per admin per hour.
User Roles
Section titled “User Roles”Deckyard has two user roles:
User Role
Section titled “User Role”Standard users can:
- Create and manage their own presentations
- Collaborate on presentations shared with them
- Access the image library
- Use all editor features
Admin Role
Section titled “Admin Role”Admins have all user permissions plus:
- Access to user management
- Access to instance settings
- View and configure webhooks
- Manage email templates
- Access analytics dashboards
Assigning Admin Role
Section titled “Assigning Admin Role”A user becomes an admin if:
- Their email matches
AUTH_ADMIN_EMAILenvironment variable - They are explicitly assigned the admin role via the admin panel
- They sign in with SSO and belong to one of the groups in
OIDC_ADMIN_GROUPS(see Authentication)
Invite Flows
Section titled “Invite Flows”Initial Invitation
Section titled “Initial Invitation”When you create a new user:
- A user record is created without a password
- An invitation token is generated (valid for 7 days)
- An invitation email is sent with a setup link
- User clicks the link and sets their password
- Account is activated
Resending Invitations
Section titled “Resending Invitations”If a user hasn’t activated their account:
- Go to Admin > Users
- Find the user
- Click Resend Invitation
A new invitation token is generated and an activation reminder email is sent.
Magic Link Login
Section titled “Magic Link Login”Magic links let existing users sign in without a password; they do not create accounts. A link is only sent to an email address that already has a user, so add the user here first. See Magic Link Authentication.
Password Resets
Section titled “Password Resets”User-Initiated Reset
Section titled “User-Initiated Reset”Users can reset their own passwords:
- Click “Forgot password” on the login page
- Enter their email address
- Receive a reset link via email
- Click the link and set a new password
Admin-Initiated Reset
Section titled “Admin-Initiated Reset”Admins can trigger a password reset:
- Go to Admin > Users
- Find the user
- Click Reset Password
- User receives an email with reset instructions
Password resets:
- Invalidate all existing sessions for that user
- Generate a time-limited reset token
- Are rate-limited (3 per email per hour, 10 per IP per hour)
Removing Users
Section titled “Removing Users”Deleting a User
Section titled “Deleting a User”- Go to Admin > Users
- Find the user
- Click Delete
- Confirm the deletion
Important:
- Admins cannot delete their own account
- Deleting a user removes their login credentials
- Presentations owned by the user are not automatically deleted
- Consider transferring ownership of presentations before deletion
Via API
Section titled “Via API”DELETE /api/admin/users/{userId}Authorization: Bearer <admin-token>User Status
Section titled “User Status”Users can have different statuses:
| Status | Description |
|---|---|
| Active | User can log in normally |
| Pending | Invitation sent, waiting for setup |
| Inactive | Account disabled (future feature) |
Viewing User Details
Section titled “Viewing User Details”The user list shows:
- Email address
- Display name
- Role (User/Admin)
- Status
- Created date
- Last login (if available)
Click on a user to see detailed information including:
- Account creation details
- Invitation status
- Authentication source
Audit Logging
Section titled “Audit Logging”User management actions are logged:
- User creation (who created, when)
- User deletion (who deleted, when)
- Role changes
- Password resets
Logs include IP addresses and user agents for security auditing.