

Slide Library
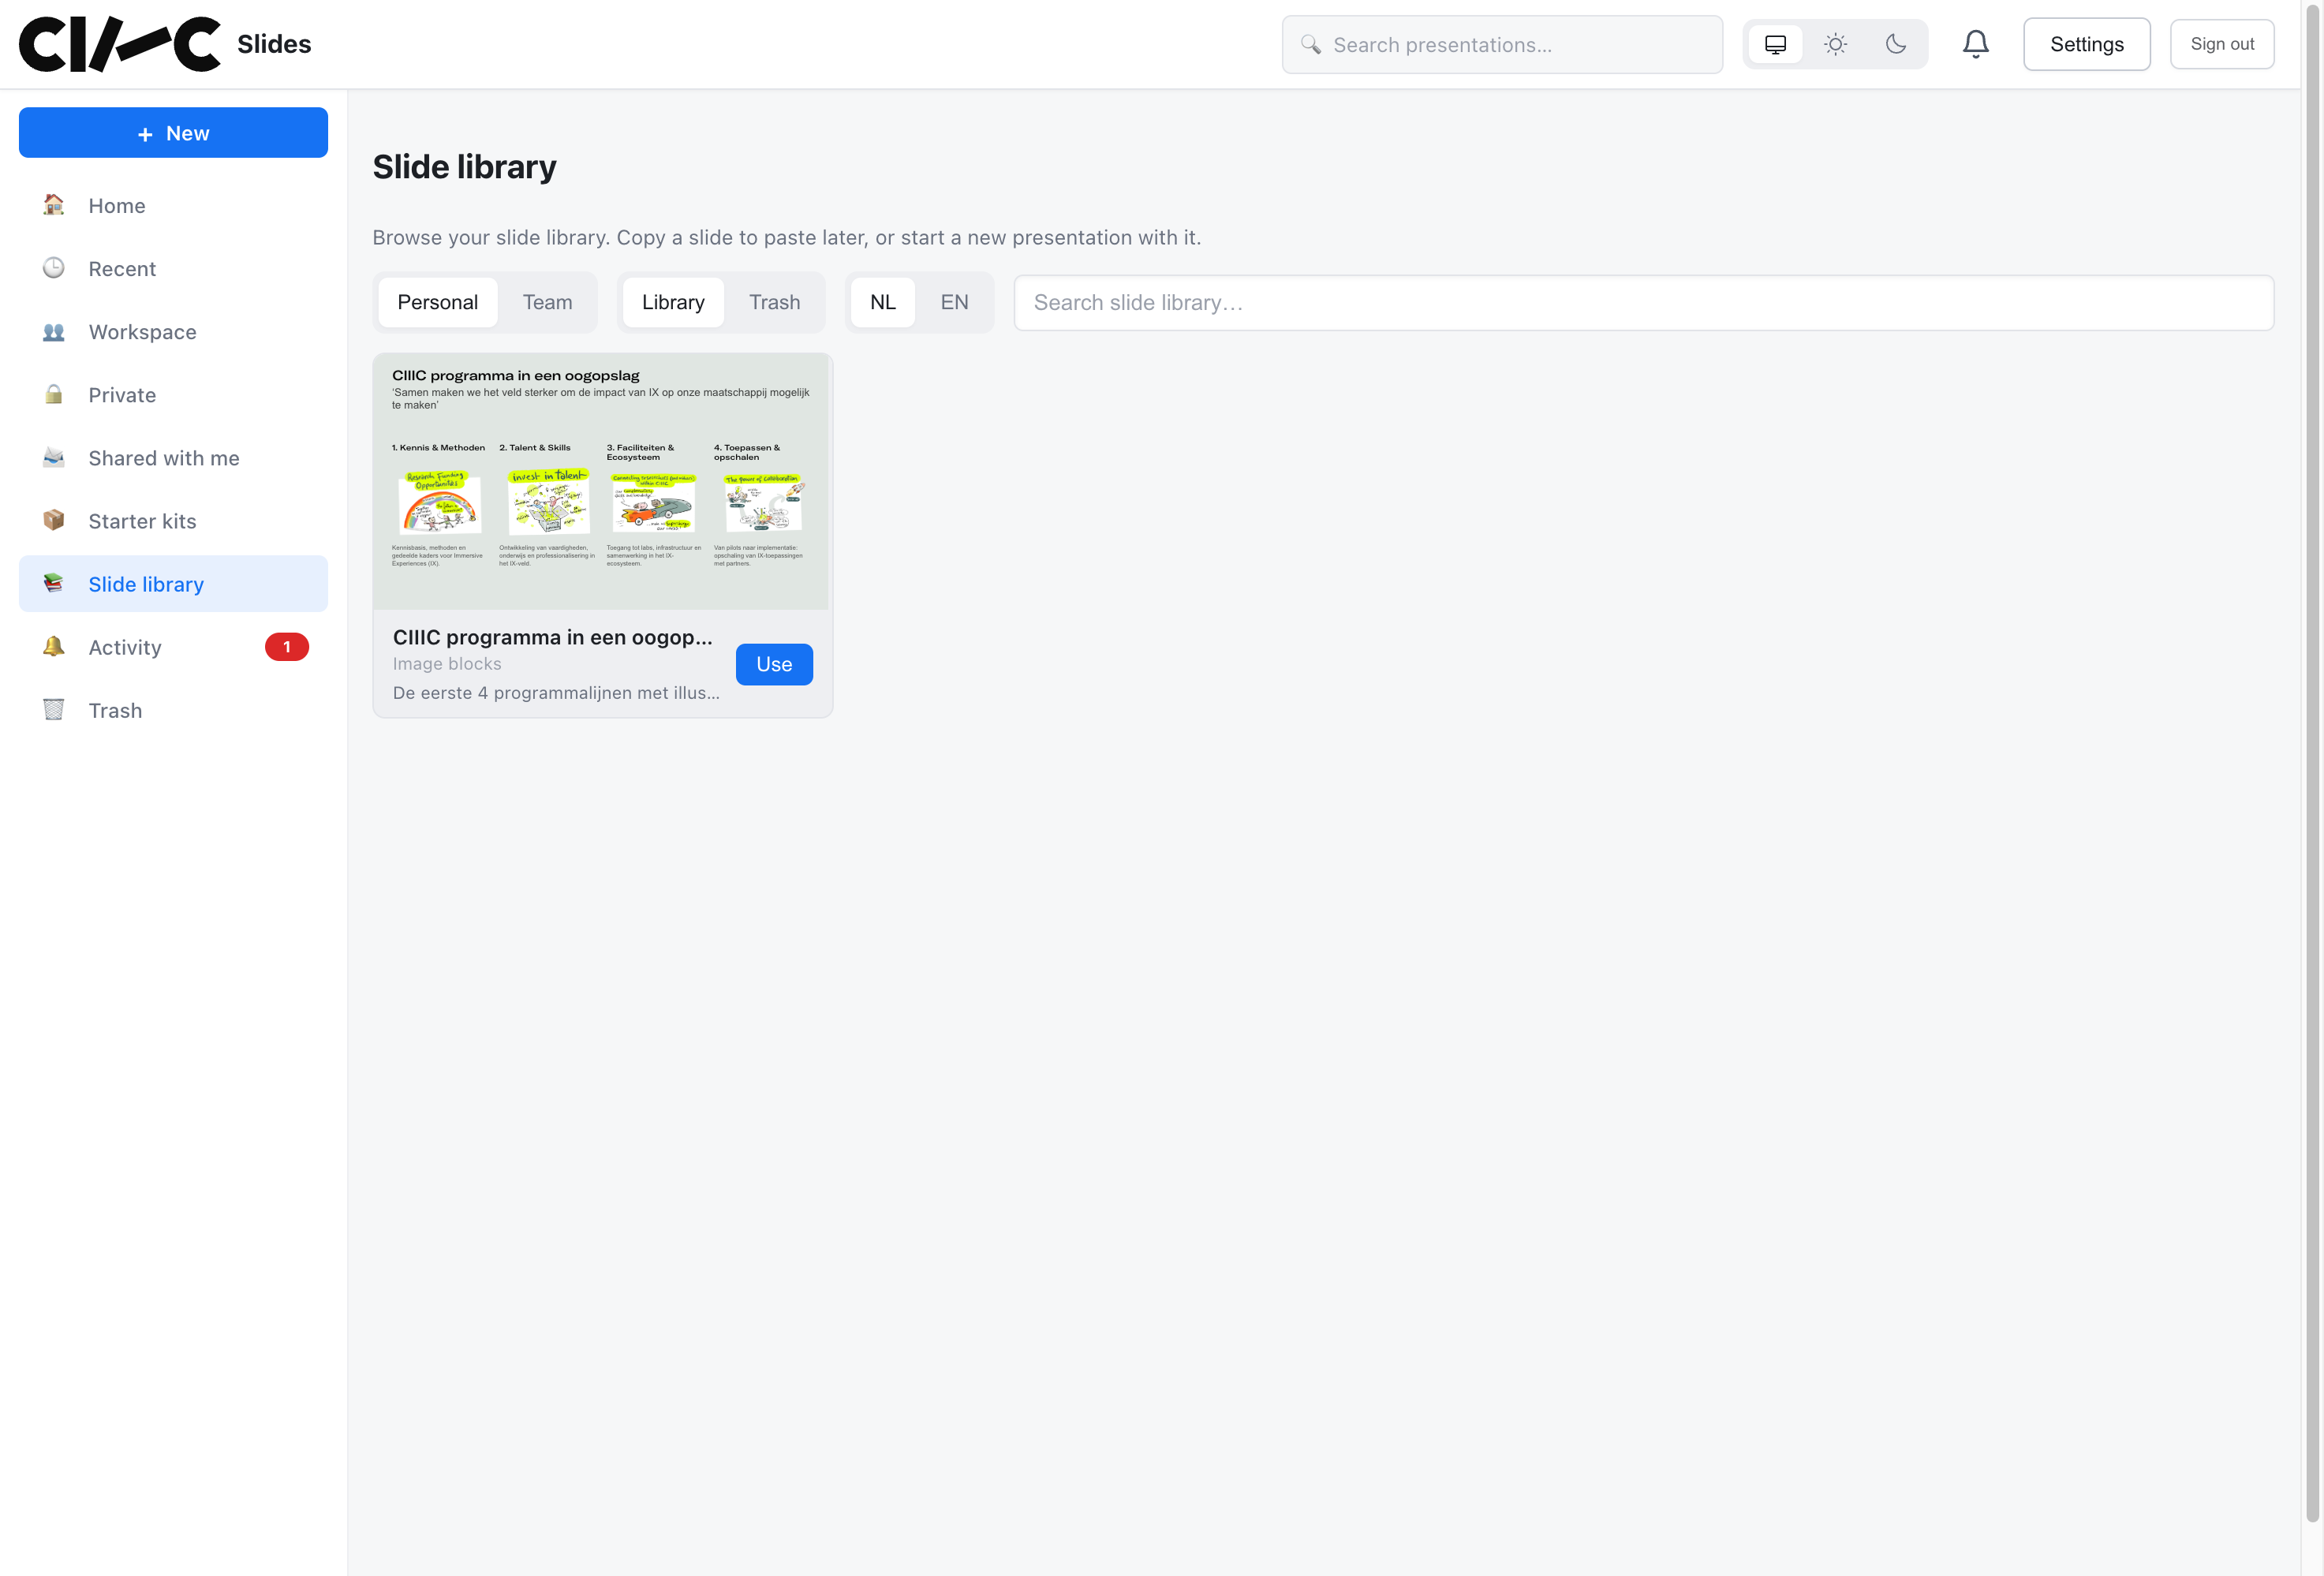
The slide library holds slides you want to reuse. Save a finished slide once, then insert a copy into any presentation or start a new presentation from a selection of library slides.
Personal and Team
Section titled “Personal and Team”The library has two shelves:
| Shelf | Who sees it | Who can change or trash an item |
|---|---|---|
| Personal | Only you | You |
| Team | Every member of your organization | The person who saved it, or an admin |
You pick the shelf when you save a slide and cannot move an item between shelves afterwards. To share a personal slide, choose Add to team library from its ⋯ menu; this saves a separate copy on the Team shelf. Other members who want their own editable version of a team slide use Duplicate to my library.
Saving a Slide
Section titled “Saving a Slide”- Open the slide in the editor.
- Open the ⋯ menu in the slide editor header and choose Save to slide library…
- Fill in the dialog:
- Name (required; filled in from the slide’s title)
- Description (optional)
- Tags (optional)
- Save to: Personal or Team
- Click Save to library. The slide library opens on the slide you just saved.
What is saved
Section titled “What is saved”- The slide type and all its content: text, images (by URL), layout and styling options
- Every language version of the slide that has text; the dialog tells you which languages it will store
- The theme of the presentation you saved it from, used for the library thumbnail
Speaker notes are not saved. Follow-invite slides cannot be saved to the library.
Finding Slides
Section titled “Finding Slides”The library is available in three places:
- Dashboard: Library in the sidebar shows the full library, including collections and a language switch.
- Editor: click + Slide and switch to the Slide library tab of the Insert slide dialog. The Slide types tab also shows your personal and team slides in a strip, with See all.
- New presentation: choose From the library to build a presentation from library slides or a collection.
In the dashboard and the editor you can narrow the list with:
- Personal / Team to switch shelves
- Library / Trash to see trashed slides
- Search, which matches the name, description, slide type, tags and the text on the slide
- Type and tag filters, shown as pills with counts; selecting several tags shows slides that carry all of them
Favorites come first, then everything is sorted by name. Hover over a card and click the star to mark it as a favorite; favorites are personal, also on the Team shelf.
Click a slide’s thumbnail to open a large preview, where you can also edit its description and tags.
Inserting Slides
Section titled “Inserting Slides”In the editor:
- Click + Slide and open the Slide library tab.
- Choose where the slide goes: by default after the current slide, or set Insert after slide to a number (0 inserts at the start), or click At end.
- Click Insert on a card. To insert several at once, tick their checkboxes and click Insert {count} slides.
From the dashboard: click Use on a card and choose Copy to clipboard (paste it into a presentation with Ctrl/Cmd+V) or New presentation. Select several cards to start a new presentation with all of them.
An inserted slide is an independent copy: it gets a new ID and takes the theme of the presentation it lands in. Editing or deleting it never affects the library item, and poll results or other interactive state do not carry over. If the slide type is not available in the presentation’s theme, the insert is refused.
Editing Library Slides
Section titled “Editing Library Slides”Open a slide’s preview and click Edit to change its name and content in the full slide form. Save to store the change; if someone else saved the same slide in the meantime, you are told so instead of overwriting their version.
On the Team shelf only the person who saved a slide, or an admin, can edit it. Everyone else sees Edit disabled and can use Duplicate to my library instead.
Choose Move to trash from a card’s ⋯ menu. Trashed slides appear under the Trash toggle, where Restore brings them back. Removing a slide from the library never touches copies already inserted into presentations.
Collections
Section titled “Collections”A collection is a named, ordered set of library slides, for example the fixed opening of every sales deck. Like slides, a collection lives on the Personal or the Team shelf.
In the dashboard Library:
- Click New collection in the collections bar and give it a name, an optional description and a shelf.
- Add slides with Add to collection in a card’s ⋯ menu.
- Click a collection to open Manage slides, where you drag slides into order or remove them.
Deleting a collection does not delete its slides. To start a presentation from a collection, choose New → From the library → Collections; the new presentation follows the collection’s order.
The slide library is also available through the REST API: the team shelf can be listed and its slides inserted into a presentation.